In oil and gas, a small flange leak is more than an inconvenience; it’s a major safety and environmental risk. A consistent maintenance routine is your best defense. This checklist provides a clear, actionable plan to inspect and maintain your piping flanges, helping you prevent failures before they start.
We’ve structured this guide as a step-by-step checklist you can use in the field. It focuses on the critical areas that need your attention.
Why a Flange Maintenance Routine is Non-Negotiable
Regular flange maintenance isn’t just about fixing problems. It’s about finding them early. A proactive approach helps you:
- Prevent Catastrophic Leaks: Identify minor issues before they escalate.
- Ensure Personnel Safety: Protect your team from exposure to hazardous releases.
- Maintain Operational Uptime: Avoid unplanned shutdowns for emergency repairs.
- Reduce Long-Term Costs: Small, scheduled repairs are far cheaper than major incident response.
The Pre-Maintenance Safety Briefing
Safety is the first step, not an afterthought. Before any inspection, you must complete this safety protocol.
- Review Process Hazards: Understand the fluid service (H2S, hydrocarbons, high pressure). Check the Process Safety Management (PSM) documentation.
- Confirm Isolation: Verify the system is properly isolated (blinded or double-block-and-bleed) and depressurized.
- Purge and Vent: Ensure the line segment is purged of hazardous materials and safe for atmosphere.
- Wear Appropriate PPE: This always includes safety glasses, gloves, and steel-toed boots. Add FR clothing and respiratory protection as needed.
- Implement a Work Permit: Secure all necessary work permits for the area and task.
The Visual Inspection Checklist
Start with a thorough visual check. You can often spot the early warning signs with a careful eye.
- General Condition: Look for heavy rust, corrosion, or physical damage on the steel pipe flanges and bolts.
- Gasket Integrity: Check for any visible gasket extrusion, or “blowout,” between the flanges. This is a clear sign of compression issues.
- Leakage Signs: Look for stains, drips, or carbonized deposits around the flange joint. Listen for hissing sounds on active lines (from a safe distance).
- Bolt and Nut Condition: Inspect bolts for corrosion, thread damage, or missing nuts.
- Alignment: Check that the two flanges are aligned properly. They should be parallel and centered. Misalignment puts stress on the joint.
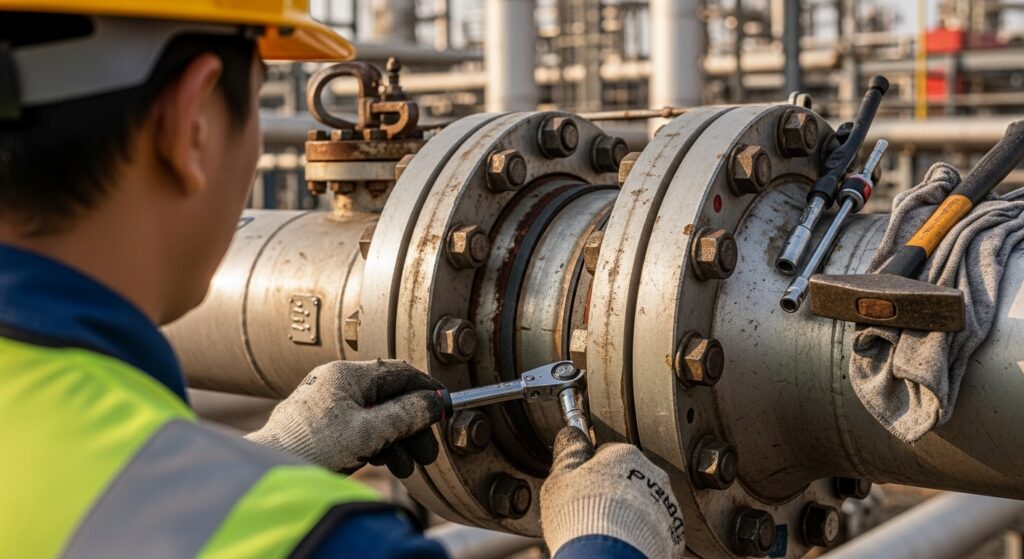
The Bolt Load and Tightening Inspection
Improper bolt load is a leading cause of flange leaks. This step requires specific tools and care.
- Check Torque: Use a calibrated torque wrench to verify bolt tightness. Compare readings against calculated torque values for your specific pipe flanges dimensions and class.
- Feel for Looseness: Manually check for any obviously loose bolts with a suitable wrench (following safety procedures).
- Inspect for Stretch: Remove a sample bolt (if safe and permitted) and check for necking or permanent stretch.
- Sequence Matters: When re-tightening, always use a cross-bolting pattern. This ensures even gasket compression. Never tighten in a circle.
Non-Destructive Testing (NDT) for Critical Service
For flanges in high-pressure, high-temperature, or corrosive service, visual inspection isn’t enough.
- Ultrasonic Testing (UT): Use ultrasonic thickness testing to check for internal corrosion and wall thinning on the flange and adjacent pipe.
- Magnetic Particle (MP) or Dye Penetrant (PT): Use these methods to check for surface cracks, especially in the flange neck and weld areas.
- Ultrasonic Flange Leak Detection: Specialized ultrasonic guns can detect the high-frequency sound of a leak long before it’s visible or audible.
Maintenance and Repair Actions
Based on your inspection findings, you will need to take action.
- Re-torquing: If bolts are found to be under-torqued, follow the proper sequence to bring them to specification.
- Bolt Replacement: Replace any corroded, damaged, or stretched bolts. Use the correct grade of material (e.g., ASTM A193 B7).
- Gasket Replacement: If a gasket is damaged or extruding, replace it. Never reuse a gasket. Ensure the new gasket is the correct type, size, and material for the service.
- Flange Resurfacing: For flanges with minor scoring or pitting, machining the sealing surface might be an option. For severe damage, the flange must be replaced.
Post-Maintenance Procedures
The job isn’t done until the paperwork and testing are complete.
- Document Everything: Record all inspection findings, measurements, and repairs made. This log is crucial for tracking joint history.
- Conduct a Pressure Test: After any significant disassembly, a hydrostatic or pneumatic leak test is often required to verify integrity before reintroducing the process.
- Remove Blinds and Re-commission: Follow your plant’s specific procedures to safely return the system to service.
Frequently Asked Questions
How often should flanges be inspected in oil and service?
There’s no one-size-fits-all answer. Base frequency on the service severity. Critical, corrosive, or vibrating lines might need quarterly checks. Less critical systems can be on an annual schedule. Your Risk-Based Inspection (RBI) program should define this.
What is the most common mistake during flange assembly?
Using the wrong bolt tightening sequence. Tightening in a circle warps the flanges and guarantees an uneven seal. Always use a star/cross pattern in multiple passes.
Can you re-torque a hot, pressurized flange?
This is extremely dangerous and should not be standard practice. The procedure requires specific risk assessment, specialized equipment, and trained personnel. It’s better to plan for a safe shutdown.
Where can I find reliable replacement flanges and bolts?
Always source from reputable manufacturers and distributors. Using substandard components is a major risk. For certified steel pipe flanges and fasteners that meet ASTM standards, you can rely on trusted suppliers like Texas Flange.
What’s the biggest red flag during a visual inspection?
Visible gasket extrusion combined with any sign of leakage. This indicates a failure of the sealing system that needs immediate attention.
Conclusion: Consistency is Key
A leaking flange is often a symptom of a missed inspection or a rushed procedure. This checklist isn’t just a piece of paper; it’s a discipline. By following these steps methodically, you build a culture of safety and reliability.
At PipingFlange.com, we understand that your work demands components you can trust. We supply high-integrity steel pipe flanges and companion hardware, backed by full material traceability. Because when you’re maintaining critical infrastructure, there’s no room for guesswork.
Need certified flanges or technical support? Contact our experts today. We’re here to help you build and maintain safer, more reliable systems.